

The Restoration Process - Larkin Press Back Side Chair
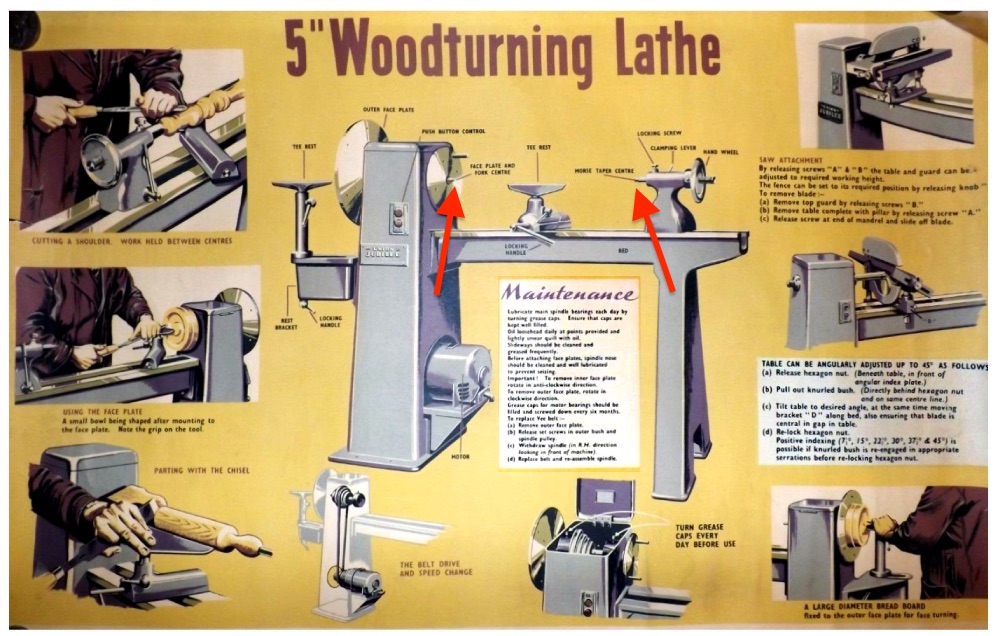
This week we're taking a look at the Larkin Oak Press Back side chair above, which was missing most of the spindles from its back when it arrived...And that leads us to one of the most enjoyable jobs in the workshop, wood turning. What's more, our lathe is a beautiful old machine - a 1930s Union Jubilee, purchased by Matthew (head restorer) from the live-in handyman at Kenwood House in the mid-80s. Amazing to think that the lathe is nearly 100 years old now and still going strong, even with near daily use. Here's a picture from its original catalogue listing:

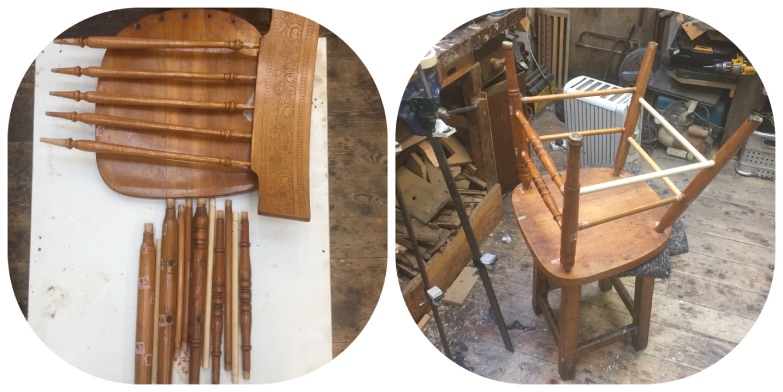
As is often the case with chairs that arrive in our workshop, the first stage was to knock it apart into its constituent pieces. It's quite rare for us to take a chair in that doesn't turn out to be wobbly in at least one joint, even if that's not the repair we've initially discussed with the owner. As always, before knocking it apart, we labelled each joint - it was especially important in this case, as the owner had in fact left a second, less damaged, matching chair with us and we didn't want to get the pieces mixed up!
Next, we cleaned the old glue from every joint. If you don't get all of the old glue off at this stage, the new glue can't do its job properly and is likely to become loose again sooner rather than later. A side stretcher and cross stretcher on both chairs were also missing. So, before regluing the seat and legs of the chair, we made some new stretchers - these were relatively straight-forward as they were plain and didn't require detailed turning on the lathe, unlike the back spindles. In the photo below, you can see the less damaged chair on the left and base of the chair we're focusing on on the right. Note the lighter, new sections that hadn't yet been blended in with stain and polish.
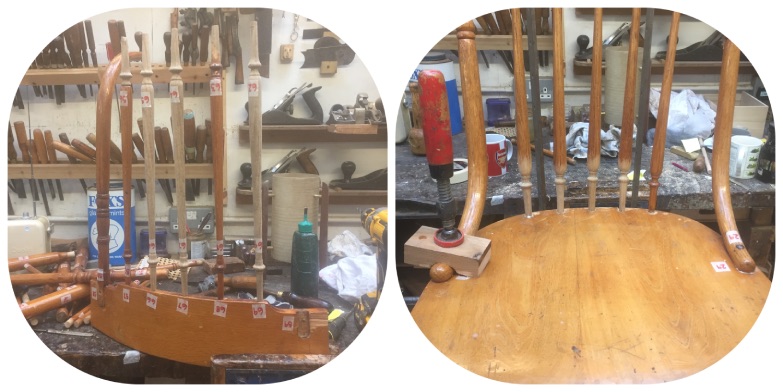
Whilst the base and legs of the chair were regluing, we began work on turning the replacement spindles. The challenge you face when turning something relatively long and small in diameter is the possibility of the timber snapping whilst it's spinning on the lathe. Over the length of something like a spindle, there is a lot of potential for the wood to bend and flex so you have to be particularly careful with the amount of pressure you apply at any given point. This can also be made trickier depending on the type of wood being used; in this case we were using oak, which can sometimes be quite flakey and more prone to splits.
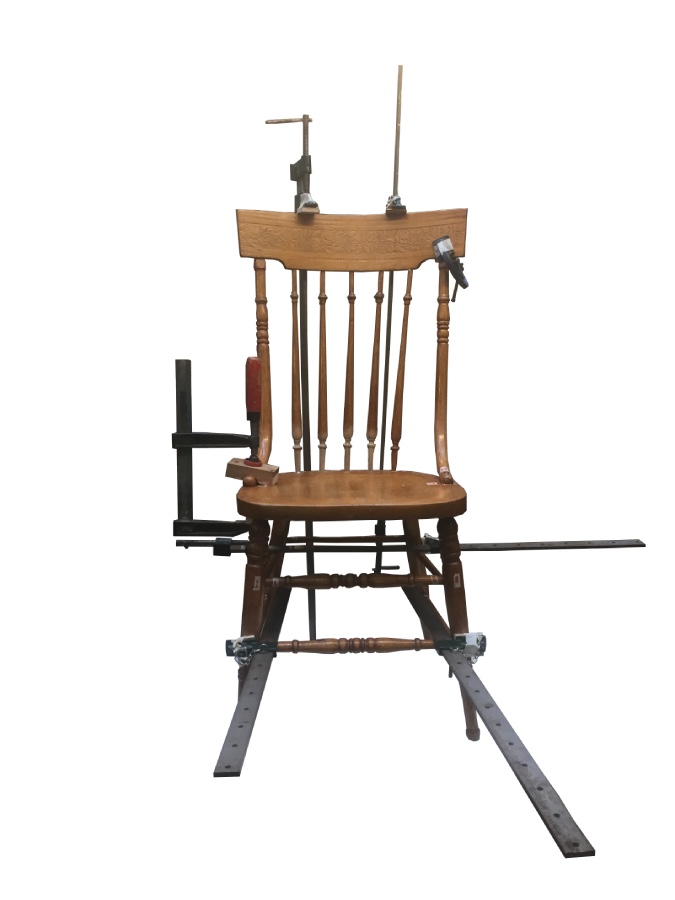
The first step when turning something is to cut down your piece of timber to a size that's a little more than you need. Once you've done this, you need to find the centre point on either end of your chosen section - this is crucial in order that the wood spins in a nice and smooth manner. It is then fixed into the lathe, on one end via the fork centre (see below, left-hand arrow) and, at the other, the morse taper centre (see below, right-hand arrow).
In the short timelapse video below, I am turning the first replacement spindle. When turning multiples of something new, each piece ends up taking a progressively shorter amount of time, the more your brain and hands get used to the curves of the wood. I was particularly cautious with the first spindle, due to the challenges detailed above, but got unlucky with the final one which shattered into about a hundred pieces right at the end of the day, just as I was finishing the last section of it! It's a little scary when something snaps on the lathe as it can seem quite dramatic, but the main feeling is one of frustration at losing an intricate piece of work...Also a reminder that you should always wear safety goggles when using a machine like this!
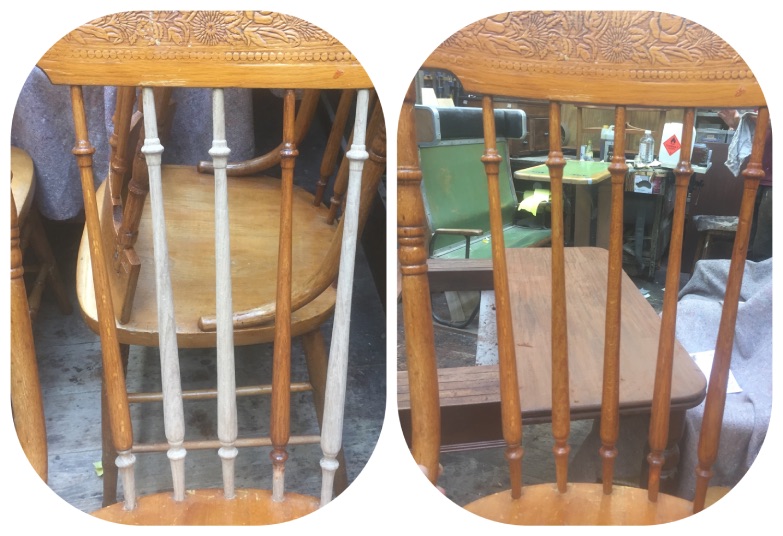
Once we'd finished turning our replacement spindles, we gave them a good, hard sand to get rid of any residual chisel marks. Next, we tested them by assembling the chair dry and then moved onto regluing the remaining sections. Finally, we applied some pigmented stain, as the existing colour of the chair wasn't the natural colour of the oak, followed by a coat of sealer and the final layers of polish.
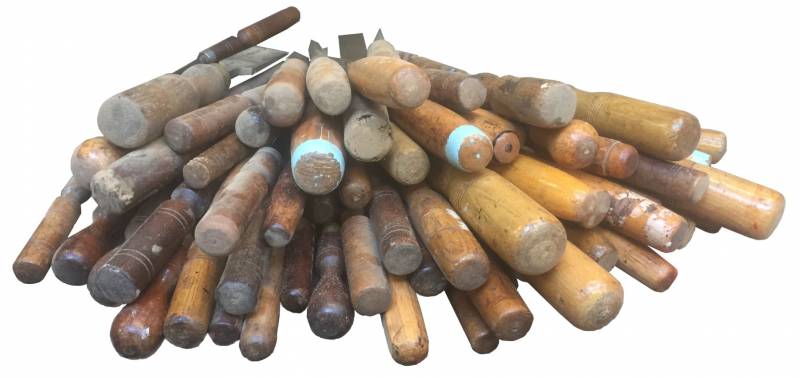
In future posts on this blog, we'll go into a little more detail about the different types of chisel used when turning something on the lathe and what each one is used for. We also love turning things in general and creating timelapses/slow-motion videos of the process so keep your eyes out for those too!
If you enjoyed our step-by-step breakdown of this project, keep your eyes out for more in this blog series in the weeks to come.
If you're interested in having a piece of furniture restored, click here for more info.