
The Restoration Process - They Fix Horses, Don't They?
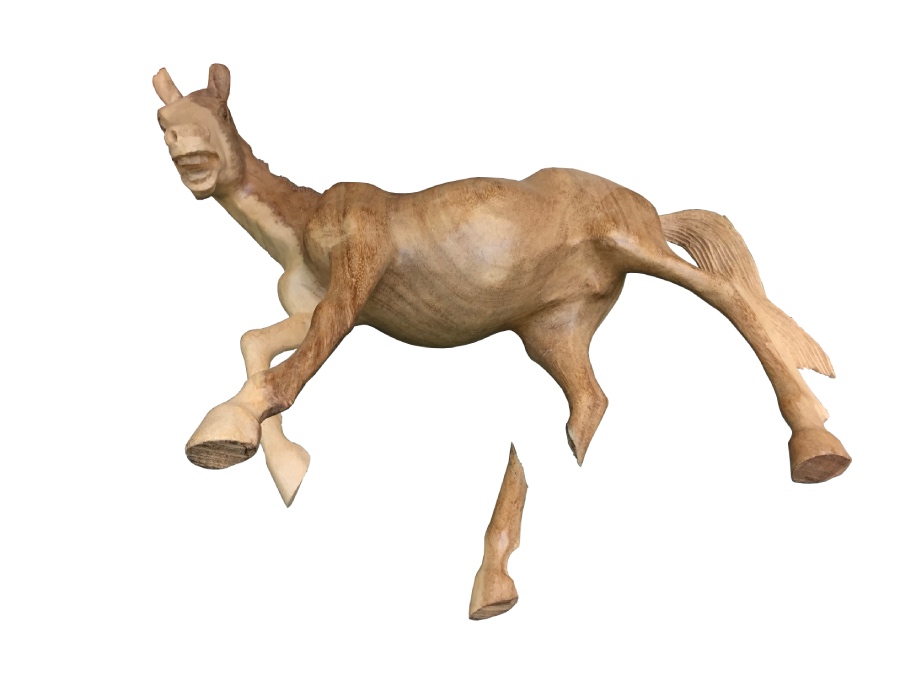
Although by name we're furniture restorers, did you know that we actually also fix animals (so long as they're made of wood...)? Today we're taking a look at this rather shocked looking horse who unfortunately took a fall and broke its leg. Whilst you might expect this sort of repair to be rare, we've in fact fixed several horses in the last year alone!
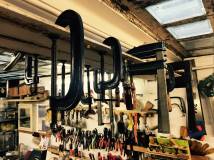
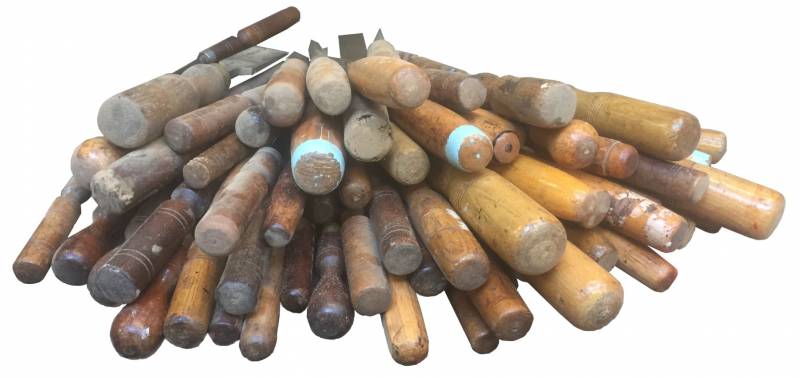
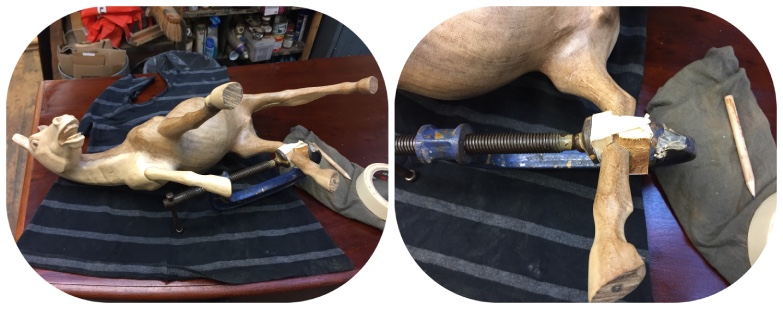
This is the kind of repair which, on the surface of it, looks straightforward. A relatively clean break like this can be glued back together, but when it occurs somewhere structural that will have weight applied to it, this wouldn't be enough to ensure it doesn't happen again. Having said this, in order to facilitate a stronger repair, the first step was to carry out the more simple process just described. The most common tool we use when regluing furniture is the G-Clamp that you can see in the picture below; the pressure it provides is essential to achieving a strong hold. To prevent the wood from being damaged by the metal of the clamp, we use small blocks often made from pine of plywood covered in leather. In some cases - like in this one - we have to make special jigs that fit around the shape of the item being reglued so that the pressure is distributed in the correct places.
Once this initial regluing has taken place we move on to reinforcing the repair. To do this, we use a technique called patching. Patching involves removing a section of the original wood, spanning the area of the break, and gluing in a new piece of timber to tie over the two parts. Usually, we would of course use the same timber as the original item in question; in this case we weren't entirely sure what it was, other than that it was probably an African fruitwood of some sort. In any case, it was not a wood that we had in our stocks, or that we could quickly source, so we instead patched it with another fruitwood that was selected for its similar grain. Luckily we had some offcuts of cherry from a previous project (which may appear on this blog in the future).
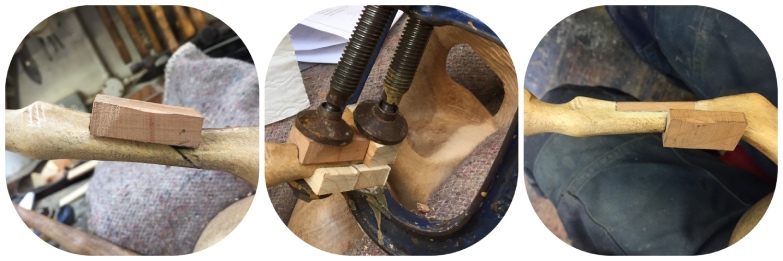
To begin with, we cut a small section of cherry down to a rectangular shape that spanned the join in the existing timber, on the back of the horse's leg. We then used this to mark the section that we would be removing with a chisel. It's important to do it in this order - chiselling out the slot for your patch, rather than making a patch to fit a pre-chiselled slot - as it is far more straightforward to get a nice, tight fit. Once we had finished gluing the first patch, we determined that the joint would be strongest with another patch, this time on the front of the horse's leg, so we repeated the process. The pictures on the left and centre above show the first patch being glued into place. The picture on the right shows the first patch glued and carved to shape, with the second patch waiting to be glued.
Once the second patch was firmly glued into place, we carved it down to shape and gave it a light sand to make sure the surface of the wood was as smooth as possible. At this stage, the leg was now feeling very robust and the bulk of the serious surgery was complete; all that was left now was a touch of cosmetic surgery to hide the scars of the horse's injury! Blending in patches can be both the most satisfying and/or the most frustrating job in the workshop. On a repair such as this, it is ever so slightly more simple - particularly given that the horse had a very matte finish. However, on a table top for example, it can become very tricky to blend in a patch, as the colour of the pigments/polish used can appear radically different from another angle or in a different light. Either way, this is one of the most creative/artistic and skilled aspects of furniture restoration and is a technique that takes many years to master.

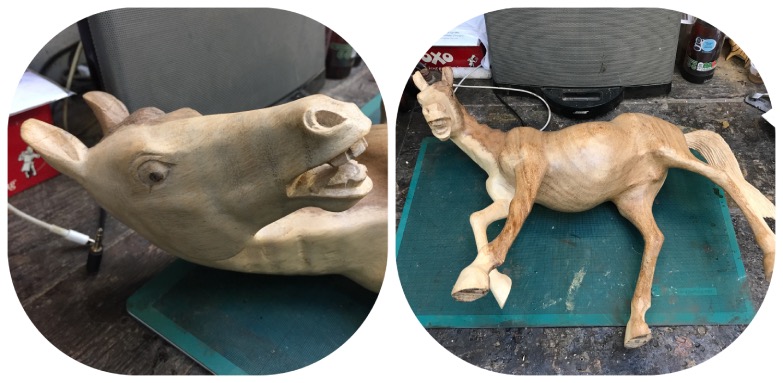
We were very pleased with the results of this quite unusual repair and, judging by the surprised look on the horse's face above, we'd say it was too. This type of project shows just how interesting, varied and all-encompassing (and strange) working in a furniture restoration workshop can be!
If you enjoyed our step-by-step breakdown of this project, keep your eyes out for more in this blog series in the weeks to come.
If you're interested in having a piece of furniture restored, click here for more info.